Streaming service subscription
Give free access to video content for the first 30 days after signup. Then offer the client to subscribe and pay every month.
A tweak that allows you to create subscriptions and accept recurring payments via PayPal-integrated forms.
Buy from $39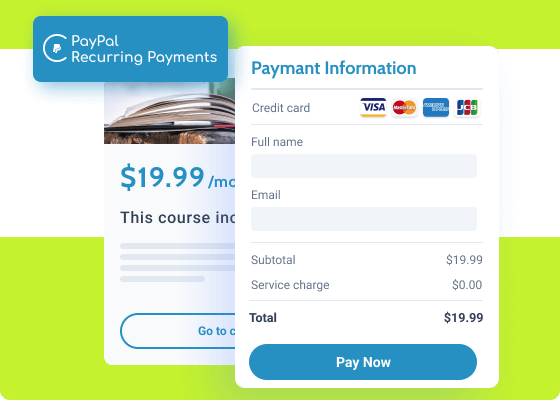
Go past commonplace one-time payments. Use PayPal Recurring Payments to create custom subscriptions subject to a specific billing cycle.
The addon supports fixed, quantity-based, volume-based, and tiered payment types. It’s fully JetFormBuilder-ready, so you’ll be able to accept recurring payments through the PayPal gateway added to the form. Monitor all payments and subscription statuses via a handy separate dashboard.
Give free access to video content for the first 30 days after signup. Then offer the client to subscribe and pay every month.
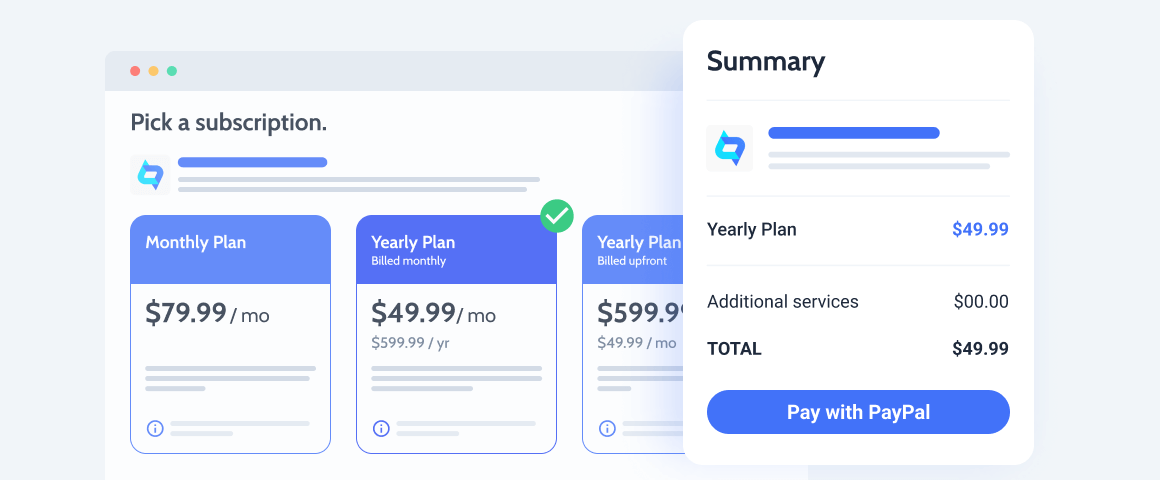
Provide subscriptions for individual courses like the Leadership program, or a yearly plan for all courses on the platform.
Add plans based on the number of weekly published posts or connected accounts for advertising agencies.
Sell a product Basic, Pro, VIP licenses. Such plans will give access to a different number of services and additional products.
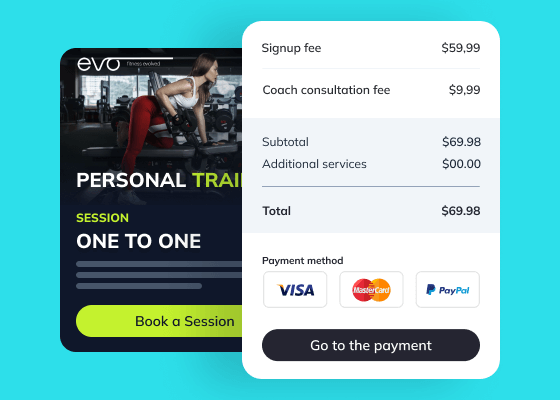
Create subscriptions priced based on the difficulty level. Allow users to pay for workout programs on a monthly and yearly basis.
Sell website space to advertisers and set tier-based plans for claimed listings. Thus the price will be lower after the fifth, tenth ad, etc.
Choose between “Pay now” and “Create a subscription” options to create a PayPal scenario.
Click the button to sync Access Token data and the PayPal account.
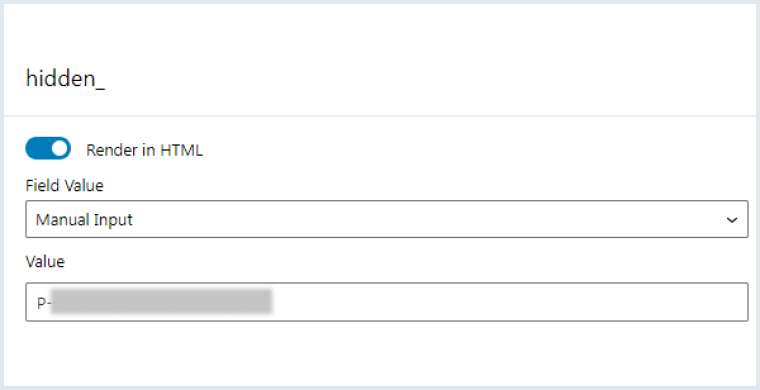
Choose “Manual Input” to save the selected plan or copy its ID and save it as a Hidden field value.
Choose the needed PayPal subscription plan from the drop-down Select field.
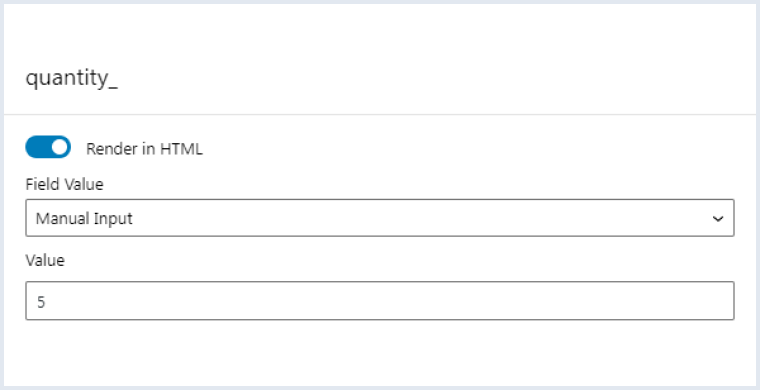
Enter the quantity field by hand or let the addon copy it from the PayPal account.
Enable this toggle to send users to a Redirect page after successful payment.
The %gateway_status% and %field_name% macros will help you create custom payment success/failed messages.
Add a custom message confirming the payment was successful.
Use macros to create a message indicating the payment error occurred.
To configure PayPal subscriptions, you need to complete four steps:
To install the addon, go to JetFormBuilder > Addons and find the “PayPal Recurring Payments” addon in the All Available Addons section. Press the “Install Addon” button, and, once installed, it will appear on Your Installed Addons. Next, click “Activate Addon” to get it ready for further work.
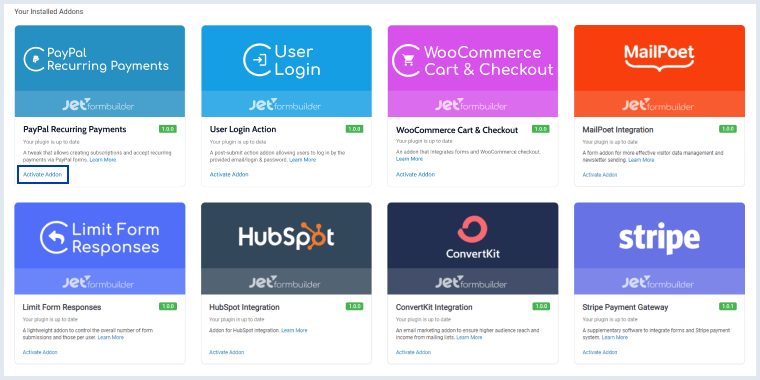
As you can see, all PRO version addons can be installed and activated through JetFormBuilder Dashboard.
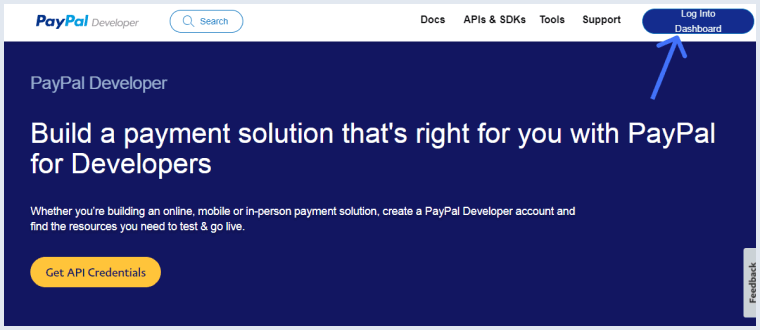
Go to the PayPal website, hit the “Log Into Dashboard” button, and log in (the email you’ll enter should be yours, not generated by the website).
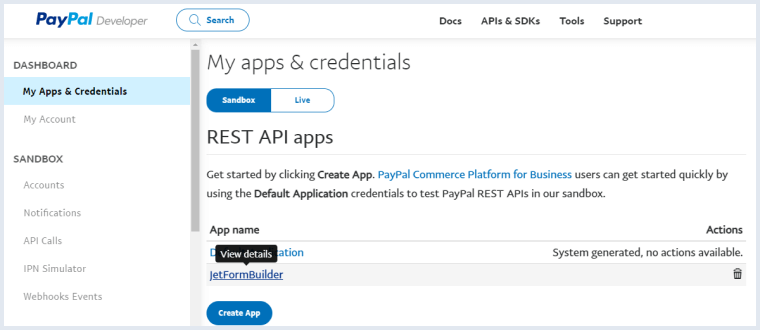
Navigate to the app that you use with PayPal.
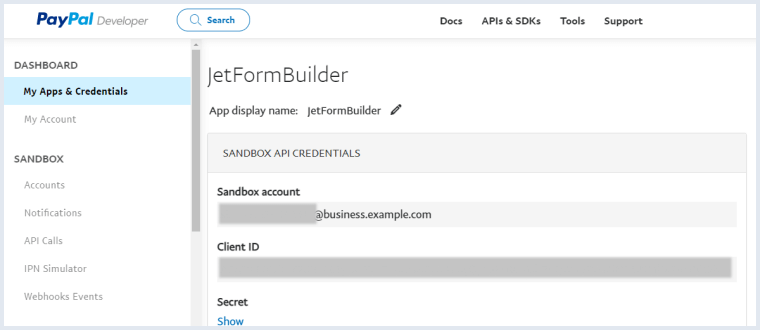
Copy the email address used for this app from the Sandbox account field.
Move to the Accounts tab, find the business account for the app, and press the “View/edit account” link.
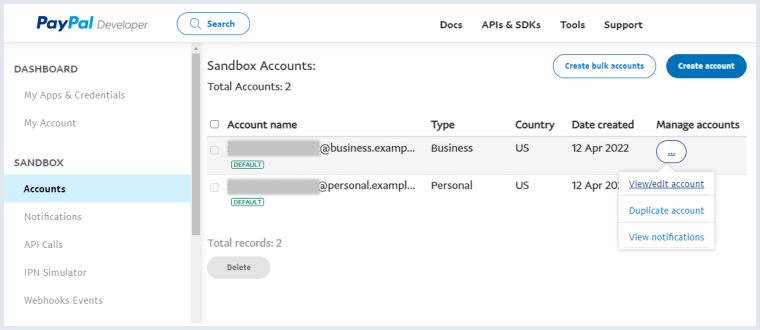
In the Account details window, copy the System Generated Password.
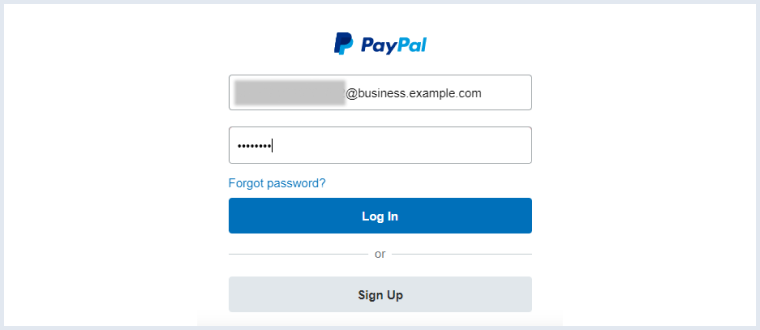
Open another browser or a New Incognito window in Chrome to log into the Sandbox account using the earlier copied email address and generated password of the business account.
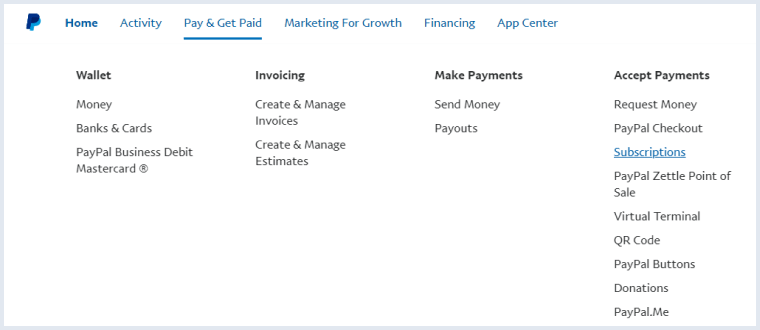
Open the Pay & Get Paid tab and hit the “Subscriptions” button.
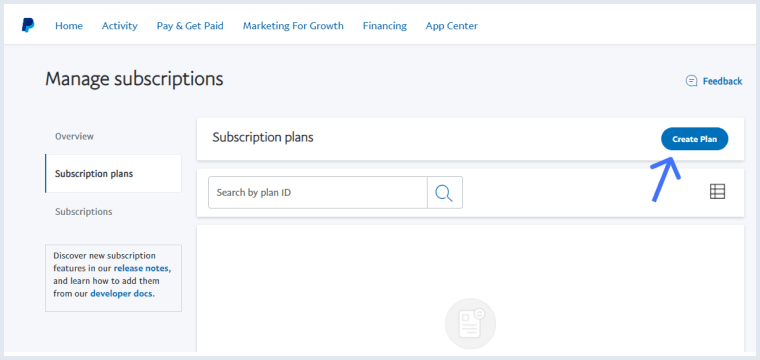
Tick the “Create Plan” button.
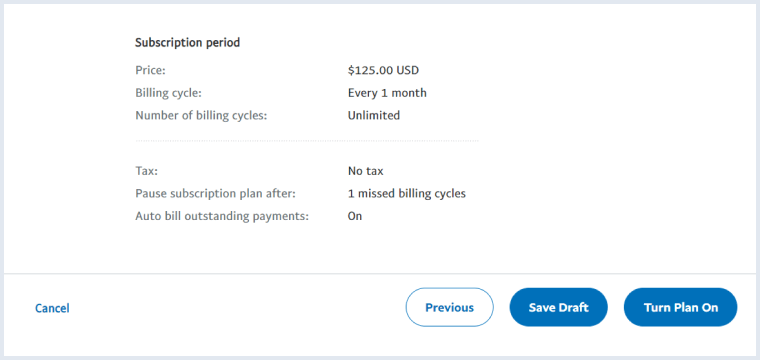
Fill the plan fields according to your needs and push the “Turn Plan On” button.
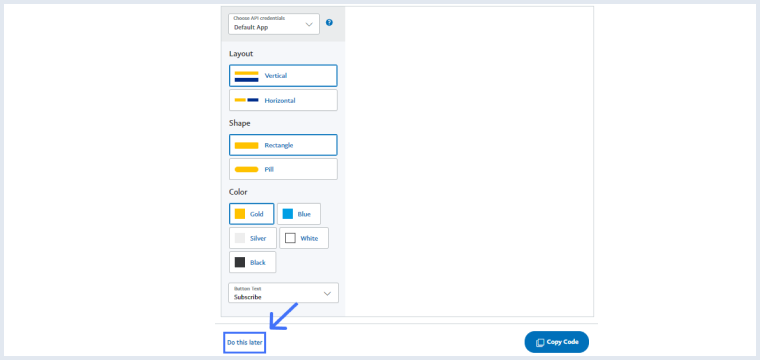
You can skip the next step by clicking the “Do this later” button.
That’s all for the subscription plan. Now you can create a form.
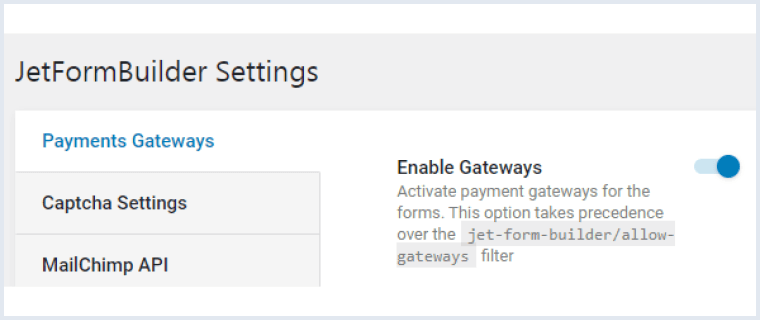
Navigate to JetFormBuilder > Settings and ensure that you’ve turned on the Enable Gateways toggle.
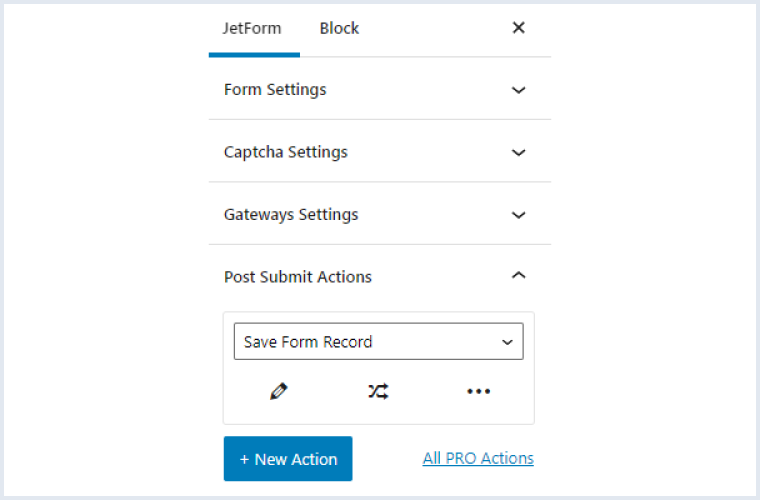
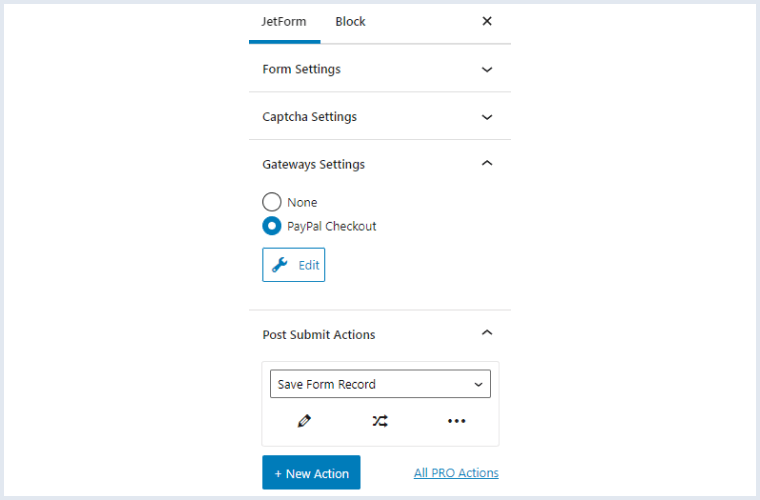
Go to JetFormBuilder > Forms and open one of the created forms. Move to the Post Submit Actions tab and set the “Save Form Record” action.
Open the Gateways Settings tab, select the “PayPal Checkout” option, and hit the “Edit” button.
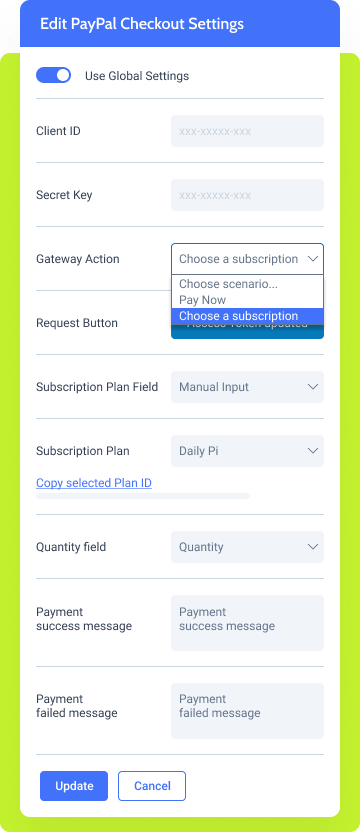
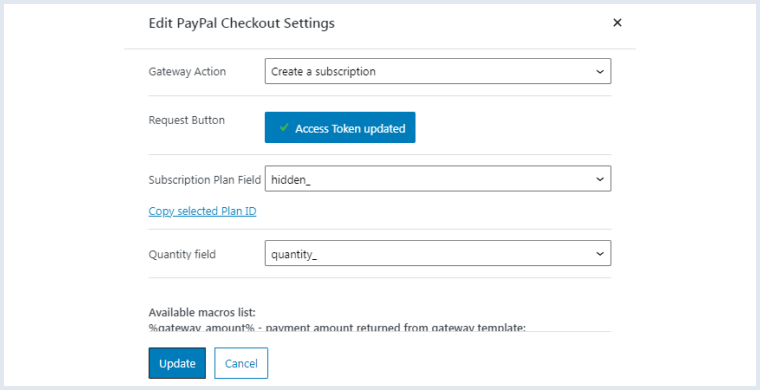
Then, you’ll see the Edit PayPal Checkout Settings pop-up.
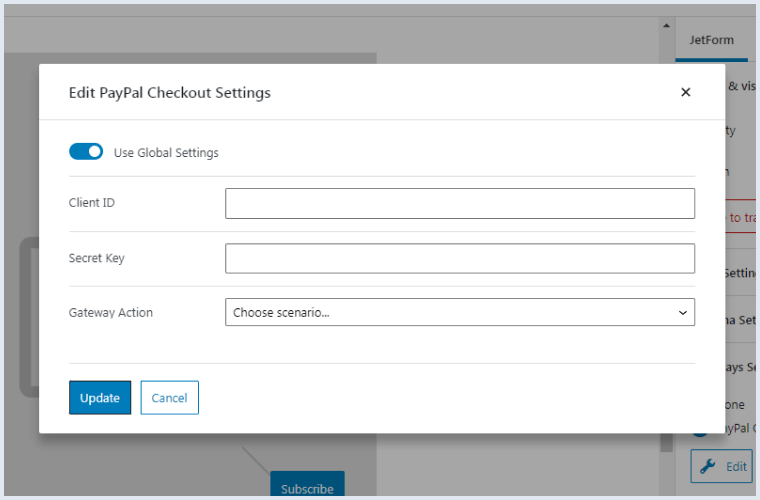
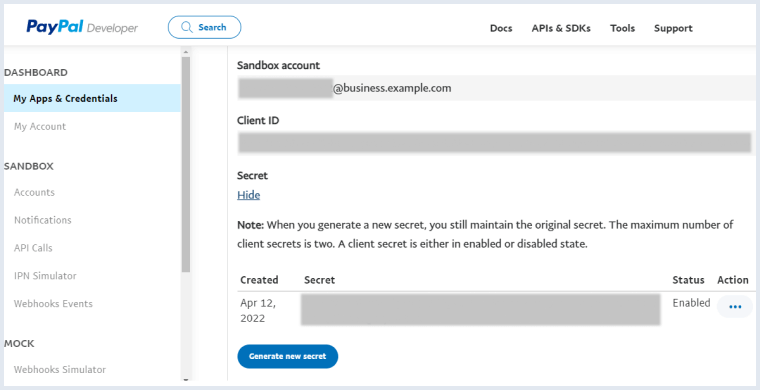
To get the Client ID and Secret Key, return to the PayPal Developer account and click on the app. Copy the Client ID, hit the “Show” button and you’ll see the Secret key.
Enter the Client ID and Secret Key into the form fields and select the “Create a subscription” Gateway Action. Then, press the “Sync Access Token” button.
The next step is to set Subscription Plan and Quantity field. You can do this in two ways:
Select the “Manual Input” option in the Subscription Plan Field and set the recently created Subscription Plan. Choose the “Manual Input” option in the Quantity field and set the quantity number of payments in the Manual input of quantity field.
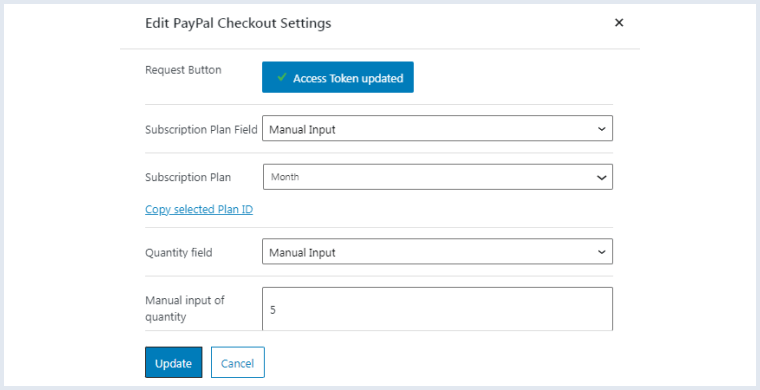
You can click on the “Copy selected Plan ID” button and save the subscription ID as a Value in the Hidden Field.
Then, create the Hidden Field for the quantity.
Afterward, select such fields as the Subscription Plan field and Quantity field.
You can mix the “Manual Input” and field options in one form.
Also, you can set:
Use macros from the list to create custom messages. You can add the following to the message:
Finally, click on the “Update” button and update the form.
It can be done from both sides.
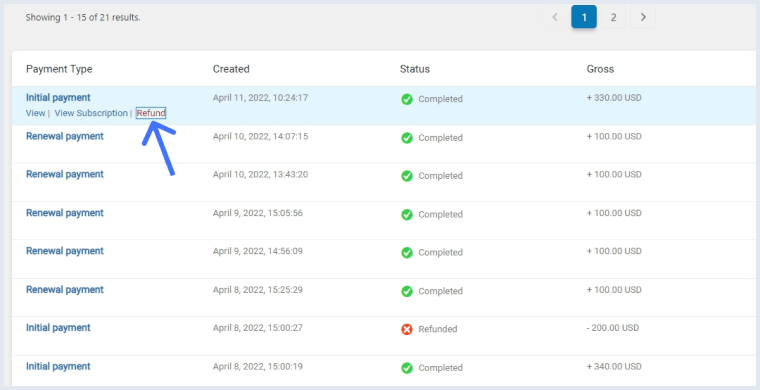
After the refund, the subscription gets the inactive status (refunded) only on your website. In the PayPal dashboard, the subscription will be displayed as active. The subscription will switch to active status again when the next payment arrives.
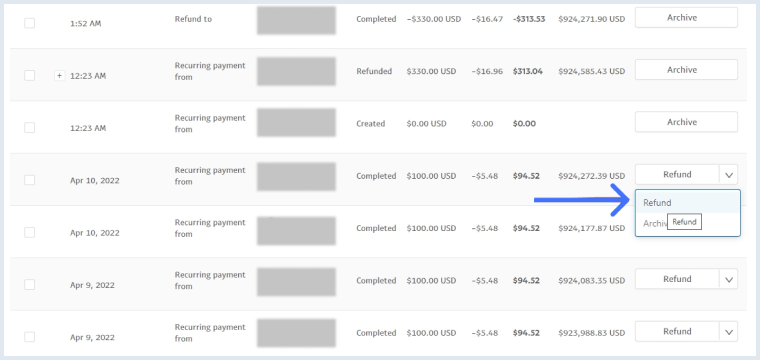
Navigate to JetFormBuilder > Payments, and hit the “Refund” button under the needed payment.
In the appeared Payment Details pop-up, fill the desired fields and hit the “Issue Refund” button.
Proceed to the Sandbox PayPal website, select the needed transaction, and hit the “Refund” button. If you wish, fill out the form fields and then confirm the refund.
After you pause the subscription, you can restore it at any moment.
Proceed to JetFormBuilder > Payments, find the desired payment in the list, tick “View Subscription”, and then the “Suspend” button.
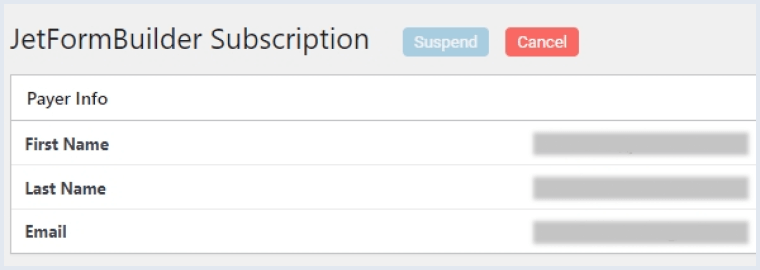
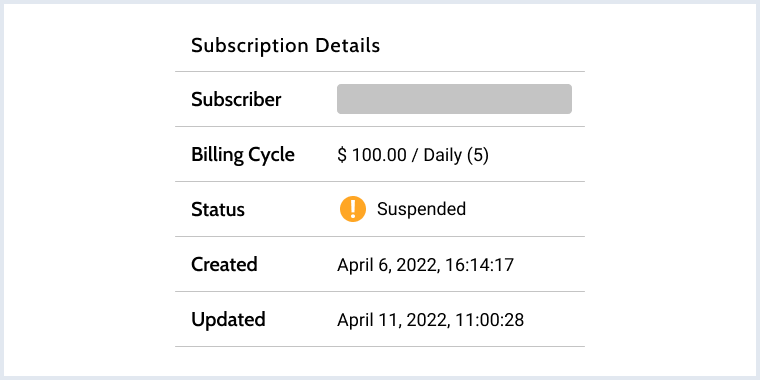
Specify the reason if you want in the appeared window, and click on the “Suspend Subscription” button. If you succeed, the subscription status will be changed.
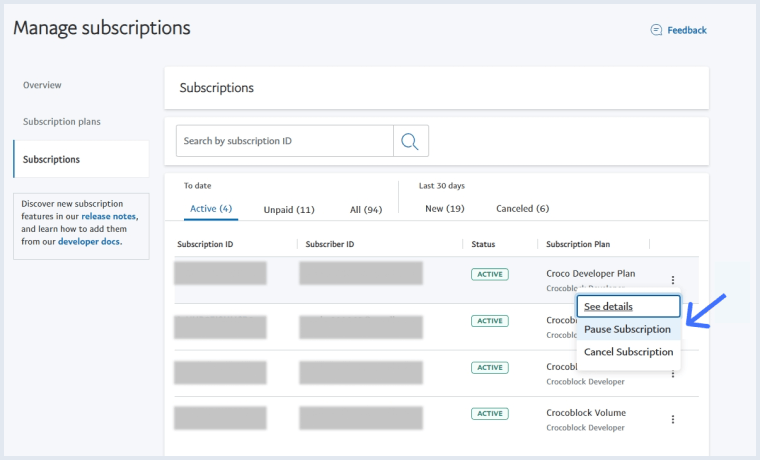
Proceed to the PayPal website and log in with the business account (we’ve described how to do that earlier).
Press “Pause Subscription” near the needed payment, and after 1-2 minutes, the status will be changed.
You can do it only via PayPal by hitting the “Activate Subscription” button.
Be aware that if you cancel the subscription, you cannot restore it. You can do this via PayPal and JetFormBuilder by pushing the “Cancel” button.
Buy JetFormBuilder Pro – get all Addons at once
A lightweight addon to control the overall number of form submissions and those per user.
Learn moreproAn email marketing addon to ensure higher audience reach and income from mailing lists.
Learn morepro


