The ElasticEmail Addon for Newsletter provides the integration with ElasticEmail mail delivery service.
Instructions and screenshots below may not exactly match the ElasticEmail configuration path you should follow, since ElasticEmail may change them without notice. The ElasticEmail support service can help you to complete the two most impostant steps: validate your domain and get an API key.
Settings and things to know
The unsubscribe tag. Elastic Email requires you to add a cancellation tag so they can intercept that action. The addon adds automatically their required tag and configures it to pass the cancellation request to Newsletter as well. So, if you see a “strange” unsubscribe tag, that’s why.
Validating your domain
Enter the ElasticEmail console and select “Settings” and then “Domains”. Click on “Add domain”.
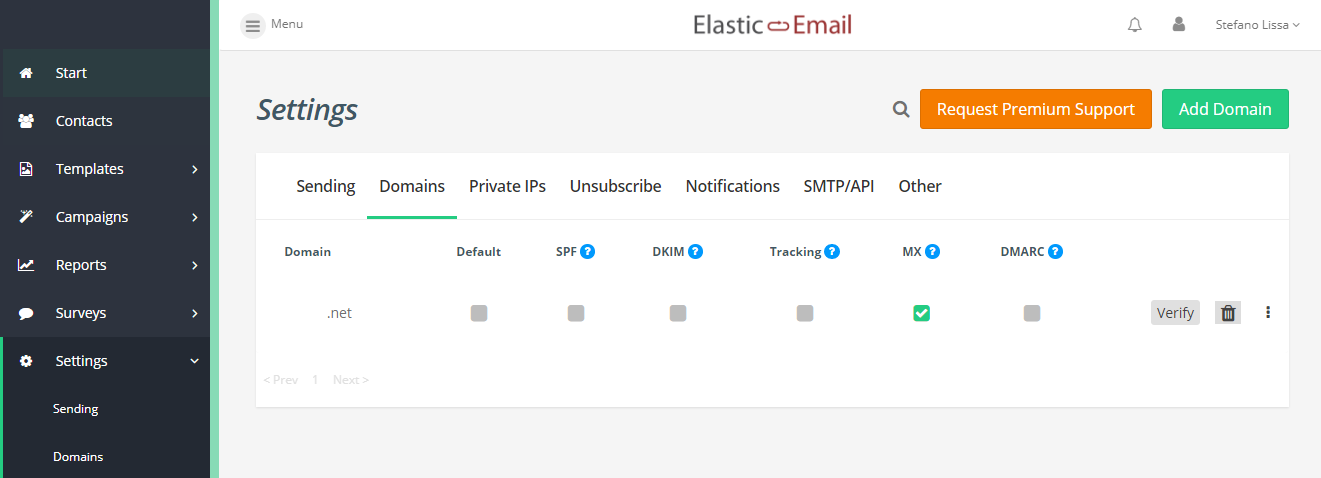
Write the domain name you want to verify (without the www).

It will be listed in your configured domain. Now it’s time to change your DNS to add and SPF and a DKIM entry to validate the domain. As your provider for support if you don’t know how to add those entries.
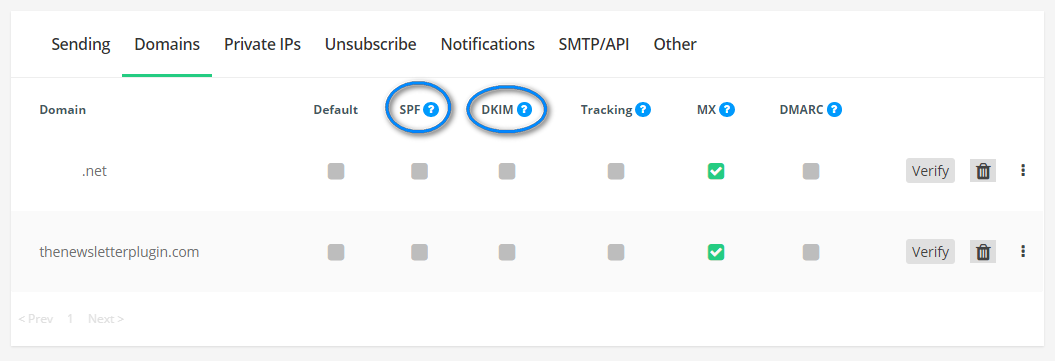
To get the values to be added in your DNS, click the “?” near SPF and near DKIM.
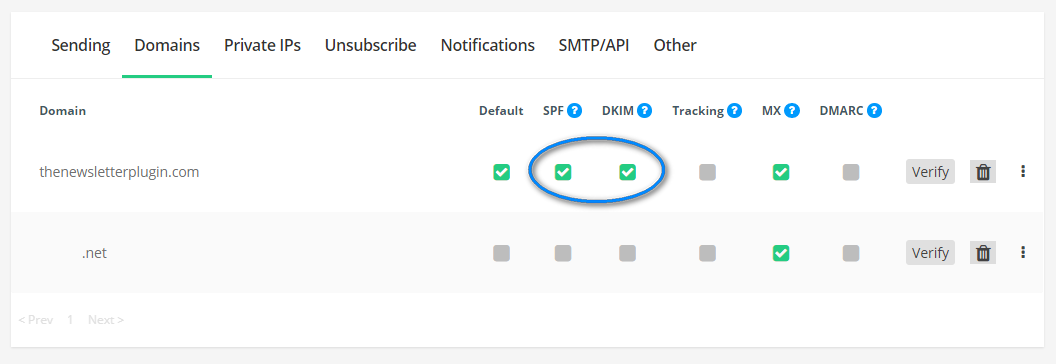
Once the records have been added in your DNS, click “verify” so ElesticEmail will check them. If everything is fine you should get a green check. You may choose to verify only the SPF record, ElasticEmail accepts even only that configuration to validate the domain (but they can change in the future their policy).
Getting an API key
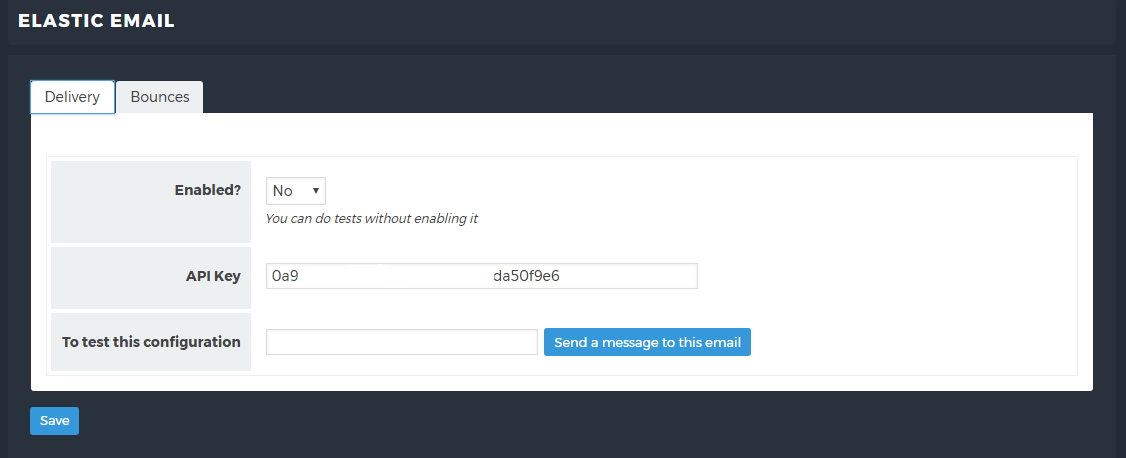
Enter the “Settings” menu and select “SMTP/API”. Your API key is already there, just copy it on this extension configuration:

Do few tests and on success you can enable the extension.
Using subaccounts
ElasticEmail give you a single API key. If you need more to use them in different services, you can create one or more subaccounts directly from your ElasticEmail console and get a new API key for each account.
For example if you have two blogs and the newsletters are manage by different people, you should create two api key to have more control over the ElastcEmail usage and account reputation.
Subaccounts are usually provided to agencies which “resell” the sending service to their customers being able to give them independent API keys.
Turbo send
When activated, these options allow the add-on to send emails concurrently. This is a technical term and you can think of it as the ability to send 2, 3, 4, … emails at the same moment. Usually, emails are sent one by one serially.
That option could increase the delivery performances but it could happen the hosting provider blocks that kind of process. Just test it.
Auto-generated text part
ElastcEmail has an option to autogenerate the text part of an email (an email is composed of a rich and formatted part and a pure plain text is usually hidden). Since Newsletter sends the textual part ElasticEmail does not generate it even if enabled.
To enable ElasticEmail to generate the text part, simply disable on the integration configuration the text part sending by Newsletter.